The first thing you should do is to save this lesson as a Bookmark. Then you can always go back to it easily.
Today's lesson is essentially one designed to test the IT knowledge you should have gained thus far. Hopefully.
I want you all to select one of the professors in the History department and produce the following: a picture of the professor concerned, inserted in a word document, with a frame around it. Underneath the picture of the professor, I want you to list as many of that Professor's published work as possible. I want you, that is, to do a search using the on-line resources of the Robinson Library and a lending right library such as Cambridge University to make a list of all your professor's published work, both books and articles. (Do not include book reviews by your professor). The more works you can assign to your professor, the more marks you will get. Wrongly attributed work will be penalised (check the initials and use your judgement as to the appropriate subject. For example, Professor Porter is unlikely to have written anything about the natural history of the Egyptian snail). Entitle your assignment something like: My favourite Professor. You can choose any professor of those listed.
You will need to remember the names of the current History Department Professors. They are Professor R. I. Moore, B. J. Porter (on leave 1999-2000), Euan Cameron, Patrick Salmon, David Saunders
You may need to use the following IT techniques learned, hopefully, from previous lessons to complete this assignment.
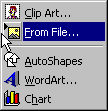
Choose picture, and you should get a menu box, which looks like this:
Choose from file. You should then be presented with a list of all available picture files in your filespace. All you have to do now is choose the approrpriate file, and click on insert. Something like the following (click on the horizontal bar to see the rest of the image if it is located off to the right of your screen).:
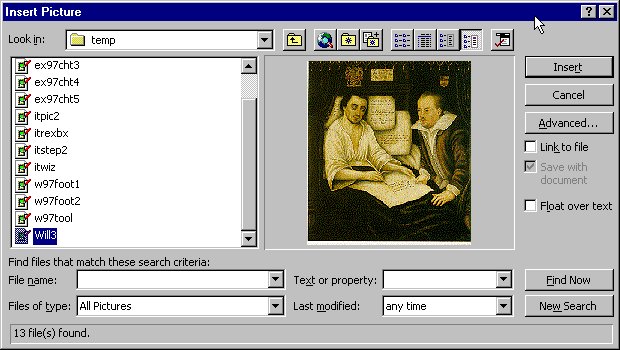
You can insert ANY type of picture (ie. a .GIF, .BMP, .JPG) into a word document. (For that matter you can insert virtually anything into a word document, even a sound file).
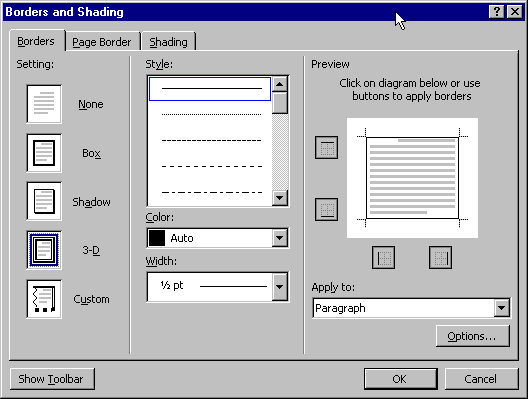
To put a border around the picture, click once on the picture and then choose Format. This gives you the following menu:
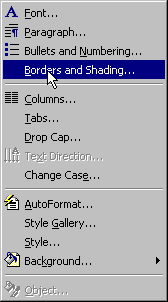
Select borders and shading. You can then give your picture a variety of frames and borders. The example following would supply a 3D frame to the picture. When you have finished click Ok, and you are done. The picture can be easily centred on the page by clicking on the centring button.